How does it affect SEO Performance?
The relationship between page indexing and SEO performance is profound. When a page is indexed, it becomes eligible to rank on search engine results pages (SERPs). Without indexing, your page is invisible to search engines, and hence, to your potential audience. Therefore, ensuring that all of your web pages, important or not, are indexed is a fundamental step in SEO.
A well-indexed website can lead to improved visibility, increased organic traffic, and better overall performance on search engines.
How to Index Pages in Google Search Console
Step 1 – Verify Your Website: Before you can use Google Search Console, you need to verify that you own the website you want to manage. Go to Google Search Console and click ‘Add a Property’. Follow the verification process, which can be done in several ways, such as uploading a file to your website’s root directory or adding a meta tag to your homepage.
Step 2 – Select Your Property: Once verified, select the property (website) you wish to manage from the dashboard.
Step 3 – Navigate to the URL Inspection Tool: In the search bar at the top, click on ‘URL Inspection’. This tool allows you to check the index status of any URL associated with your website.
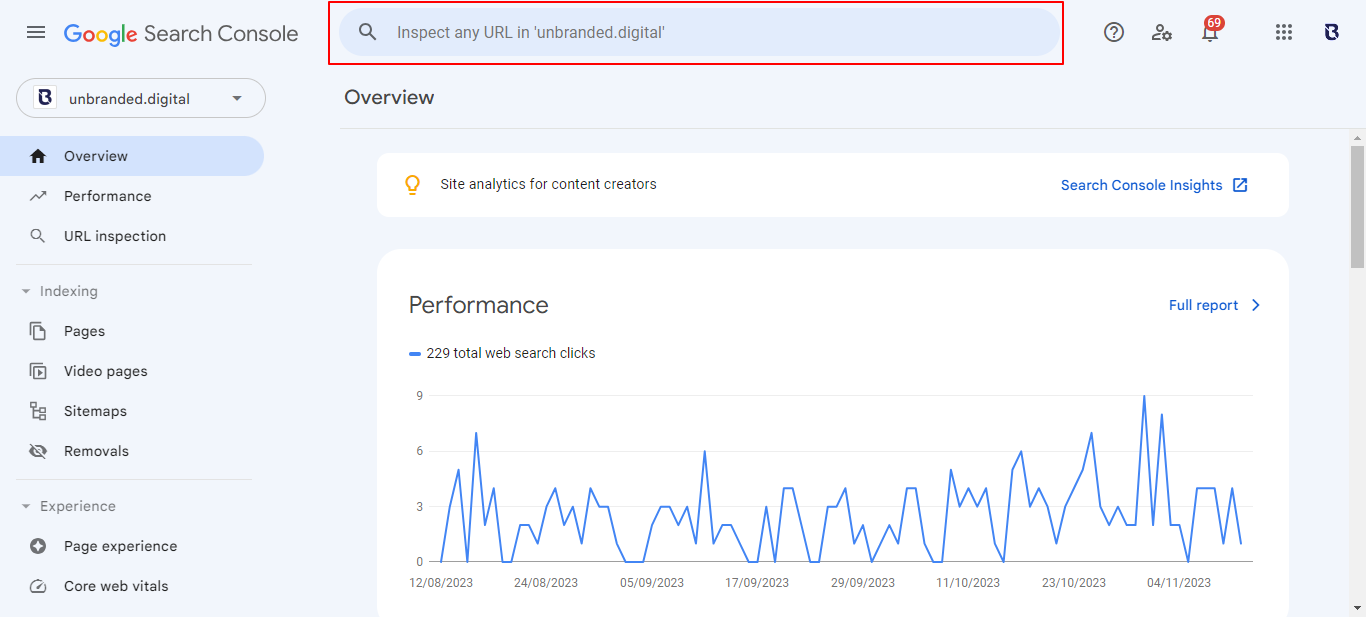
Step 4 – Enter the URL: Enter the URL of the page you wish to index in the search bar at the top of the page. Google will then retrieve information on the index status of that page.

Step 5 – Request Indexing: If the page is not indexed, or you have made updates to it, click on ‘Request Indexing’. Google will then add the page to a priority crawl queue.

Step 6 – Be Patient: Indexing is not instantaneous. It can take anywhere from a few hours to several days for Google to process your request and index the page. You can check the status of your request at any time using the URL Inspection Tool.

How to View All Indexed Pages in Google
Using Google Search Console
Step 1 – Navigate to Google Search Console: Log in to your account and select the property (website) you want to analyse.
Step 2 – Access the Index Coverage Report: On the left-hand side of the dashboard, click on ‘Index’ to expand the menu, then select ‘Pages’. This report provides a comprehensive overview of the pages on your website that Google has indexed, as well as any pages that might be experiencing issues.
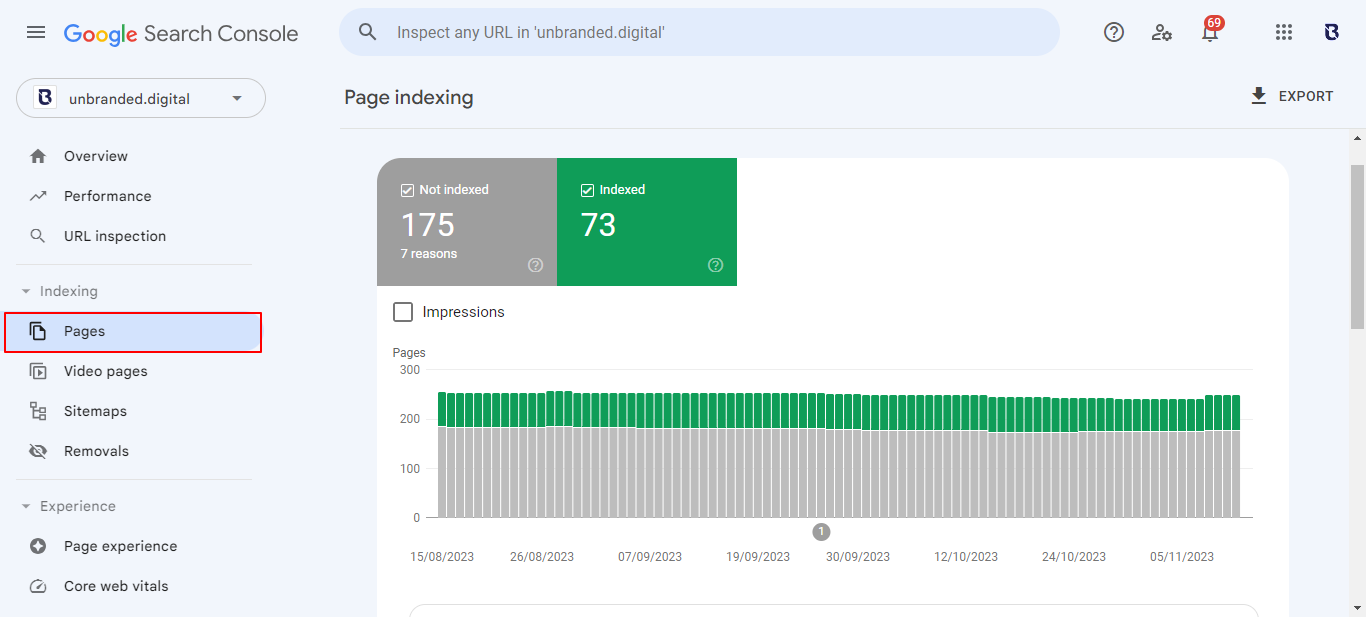
Step 3 – Analyse the Report: The Index Coverage Report is divided into several sections, showing the pages that are indexed in the ‘Indexed Pages’ tab and pages that are having problems with being indexed. Pay close attention to the ‘Why pages aren’t indexed’ section, as this will show you all the pages that are currently having trouble with indexing.
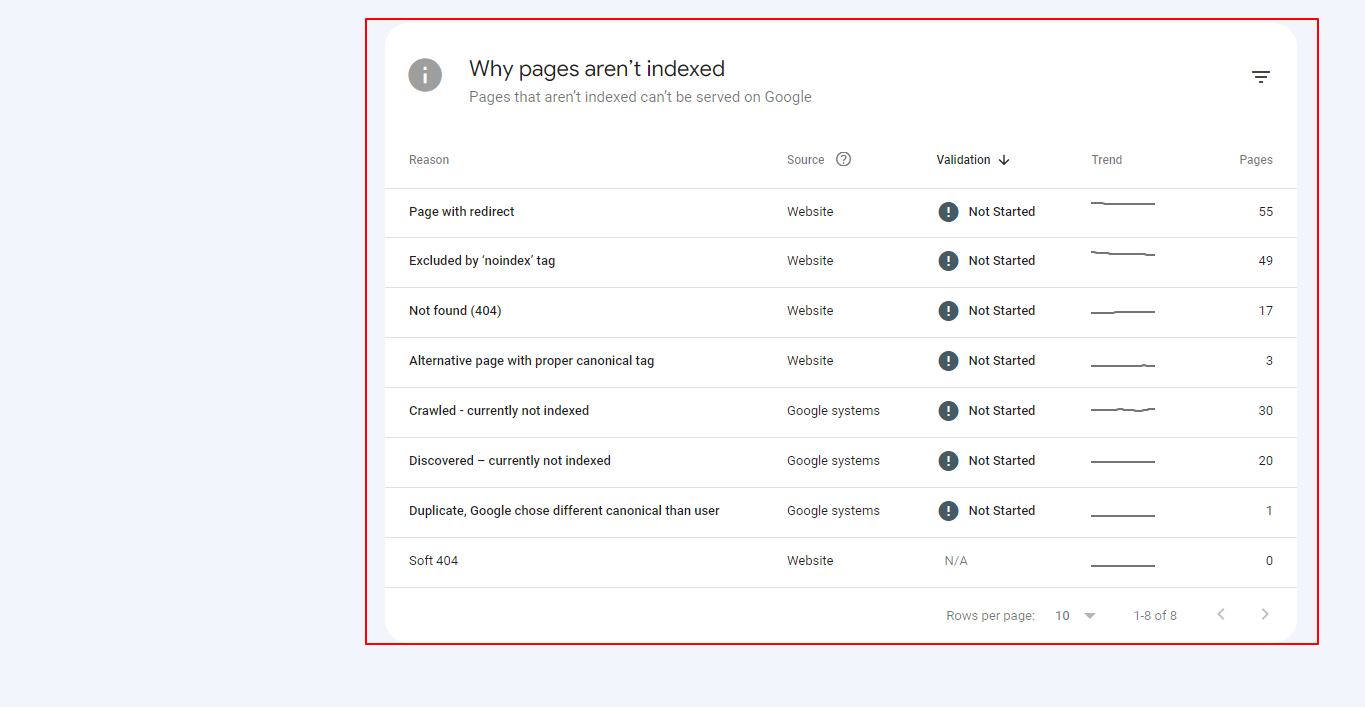
Step 4 – Download the Data: For a more in-depth analysis or for sharing purposes, you can download the report data by clicking on the ‘Export’ button at the top of the page.

Using Google Search Operator
Another quick method to view indexed pages is to use the “site:” search operator on Google.
Step 1 – Open Google Search: Navigate to Google’s homepage.
Step 2 – Enter the Search Operator: In the search bar, type “site:yourdomain.com” and press Enter.
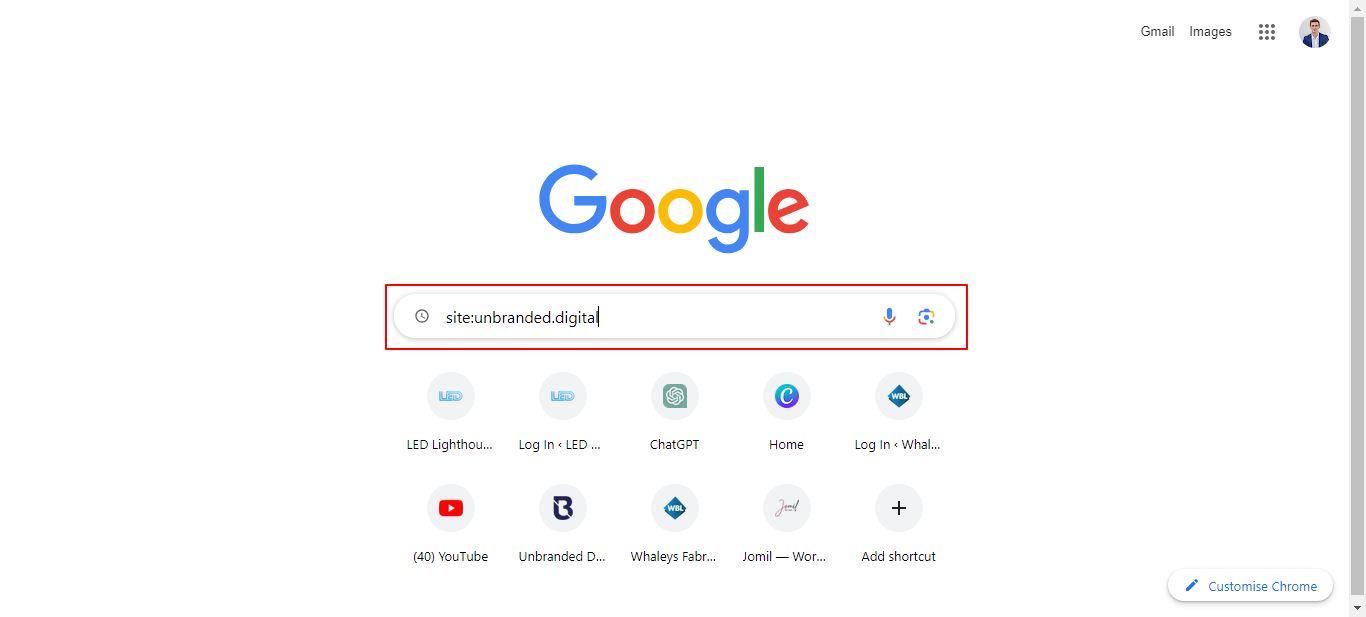
Step 3 – Review the Search Results: The search results will display a list of pages from your website that are currently indexed by Google. Please note that this method might not show every indexed page due to the limitations of Google’s search results, but it provides a quick and straightforward way to view a large portion of your indexed pages.

Step 4 – Analyse the Results: Scroll through the results to identify which pages are indexed. You can also use this method to check the indexing status of specific sections of your website by adding the path to the search operator (e.g., “site:yourdomain.com/blog”).

Ensuring your website’s pages are indexed is a vital component of SEO. Google Search Console provides a straightforward and effective platform for requesting indexing, helping to ensure your content is visible and accessible via search engines.

